Designing the Doctor Who Tardis lamp

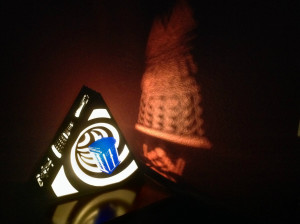
The Doctor Who Tardis lamp is one of the most detailed pieces I have designed yet. It pushes the boundaries of what my laser cutter can do to a flat piece of plastic. It features some of The Doctor’s greatest enemies on the sides, while showcasing the Tardis falling through spacetime on the front.

Projecting images onto walls has become a staple of most of The Plasmatorium’s lamps. Some work better than others, though.

1

Just like most other creations, it all begins with a crude and simple sketch.

(more…)

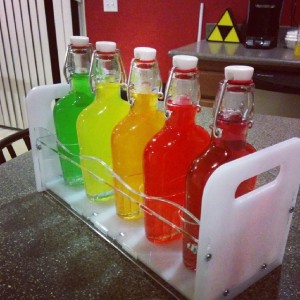
Skittles Vodka & Display Case

Gave this as a Valentine’s Day gift

ZivVizV

As soon as I learned that her favorite candy was Skittles, and that her favorite alcohol base was vodka, I knew exactly where to go from there 😛


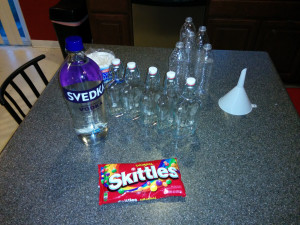
Step 1: Get your crap together, man

x4a0uZ6

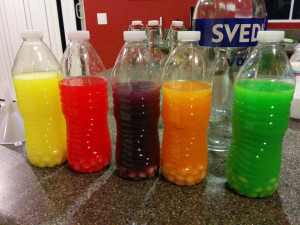
Found the bottles on Amazon… a lot more expensive that I had hoped, but oh well. She’s worth it. As per the alcohol, I knew you shouldn’t buy an AMAZING vodka, since the candy would be ruining your vodka (like ketchup on filet mignon)… but I certainly didn’t want to get bottom shelf either, since that would taste just as bad… Svedka is a good choice 🙂


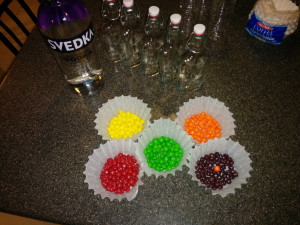
Step 2: Piss off those with OCD

b2FBhJu

Separating the candy was the fun part… and no, I most definitely did not eat any…


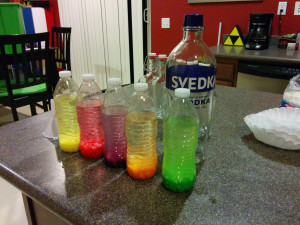
Step 3: Start the liquification!

3iWMS3T

Water bottles were used, so I didn’t get any candy gunk on the inside of the nice expensive bottles


After about 10 mins

RnjOdXl

10 minutes in, the color was already becoming quite vibrant. I let them sit for a few more hours to let the candy COMPLETELY dissolve.

(more…)

Mario Star Tree Topper

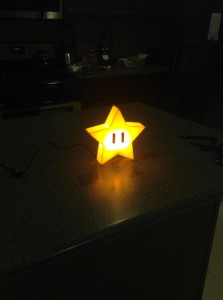
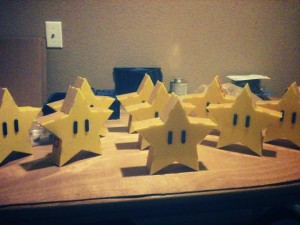
I modeled up another lamp; a Super Mario Brothers Star lamp. Aka a Super Star 😛

1483767_10151754630220108_1030040446_o


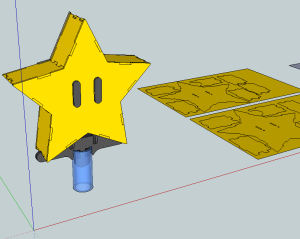
But I also wanted to make it as something that could be put on top of a Christmas tree, so I added in support for that!

marioStar3d

The Mario Star definitely takes a bit more effort to assemble than the previous Zelda Triforce Lamp, but it’s worth it. It also looks pretty awesome on top of the Christmas Tree 🙂

1404779_10151745661730108_708651953_o1452326_10151764975865108_386676047_nil_570xN.536305676_j80fI also created some assembly instructions for attaching the tree-holder to the lamp, which I include when people purchase the lamp. I thought they came out pretty interesting. Almost Ikea-style.

1403534_10151766789615108_943658086_o


If you want to check into getting one of these lamps for yourself, I should have it up for sale at The Plasmatorium – go check it out!

Zelda Triforce Lamp

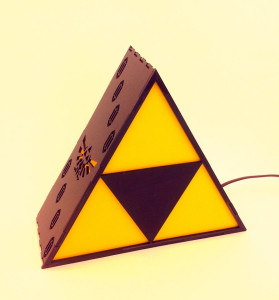
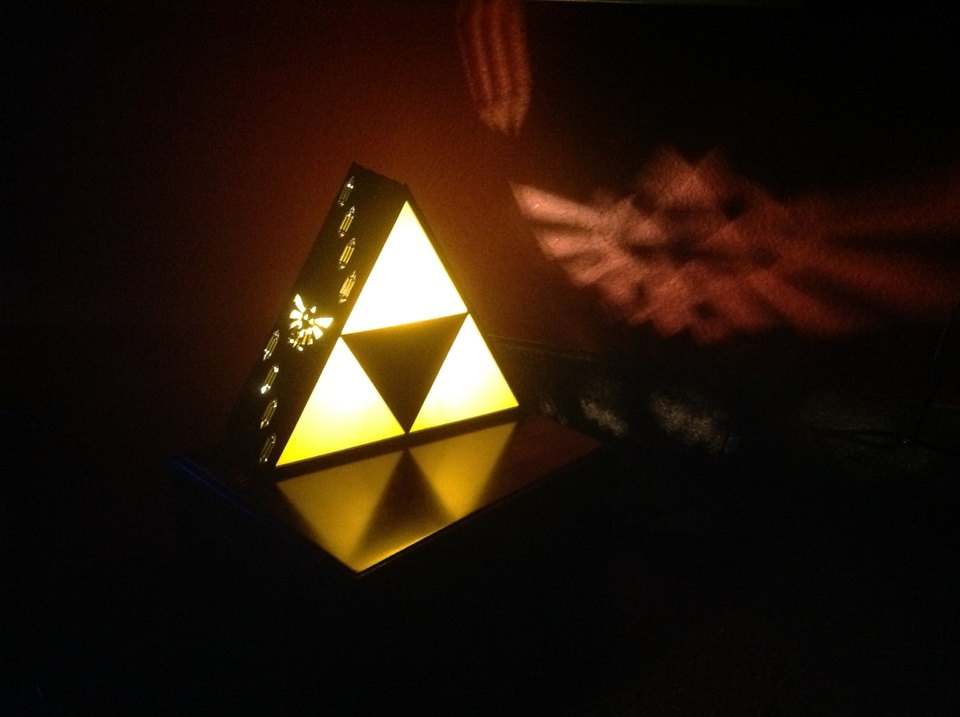
A few months ago, I decided to design up a video game themed lamp. The end result was the Zelda Triforce Lamp.
il_fullxfull.420561272_c7rj

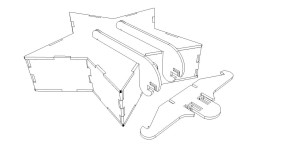
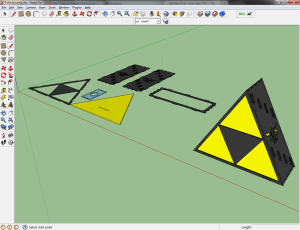
I designed all the pieces in Google Sketchup, and exported them to their respective SVG files for cutting on the laser.

triforceLamp

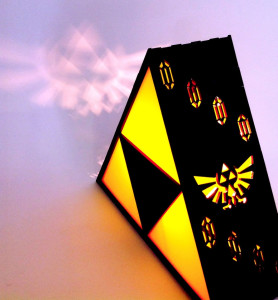
After cutting each of the pieces, the lamp is assembled by hand, using acrylic glue to bind them all together. After the acrylic pieces are put together, a regular lamp cord with bulb holder is inserted into the bottom, and presto; you have a lamp 🙂 What I think adds a nice tough is the shapes cut into the side of the lamp; the Rupees and the Hylian crest. They manage to project shadows of their respective shapes onto nearby walls or objects. Really makes the lamp stand out.

il_fullxfull.420561990_9p3g
il_fullxfull.420561026_qqpn

Interested in a lamp of your own? I’m now selling them over at The Plasmatorium – Check it out!

Spiffy Product Packaging

While selling the Look of Disapproval Glasses, I have been having a couple recurring problems. One problem was the brittle nature of acrylic mixed with the man-handling nature of the post system causes a lot of broken sets and upset customers. Too frequently I was getting emails saying the glasses had arrived broken. I would of course replace them as soon as I had heard, but that left the original issue unresolved.

Another issue was that the 3-piece glasses set just doesn’t want to sit nicely in any way. Sure, you could just wrap them in a folded piece of paper, or tape them to something, but not only does that look just downright unprofessional, but it could cause damage of its own to the acrylic. Tape could leave glue on the plastic, making a marred product.

So I set out to fix the issue. What I finally came up with pretty much fixes both of these issues, and gives a tasteful touch to the out-of-box user experience as well.
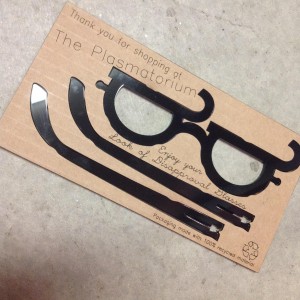
The cardboard holder seen here has the same basic shape as the glasses parts, but with divots spread around, designed to grip the plastic. This holds them in the recesses, while still allowing them to be popped out with ease. The orientation of the corrugation in the cardboard is definitely taken into account. Having the corrugation go the same direction as the longest pieces reduces the chance of bending on the axis, which overall reduced the chance of the glasses breaking.

I also get a blank canvas to customize with my own messages, as you can see 🙂

If you’d like a pair of the glasses seen above, you can find them at The Plasmatorium
Skull

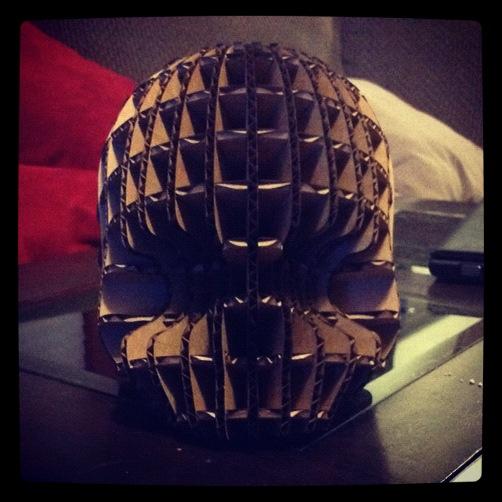
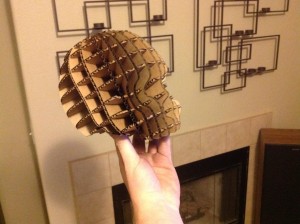
It took quite a few steps to get this end result.

It all starts with a 3D model of a skull which I found online. It was manipulated in Blender to get a model I liked. Once I had it the way I thought would be best, I then exported that to Autodesk to slice up the model into intermeshing sheets.

The slices then had to be exported to a PDF, since that was the best way to get to the next step; Inkscape. After importing each page of the PDF into Inkscape, as a new document, I was able to manipulate the actual paths of the slices. This let me label each piece, and lay them out onto documents that were sized for my specific laser bed.

Only after each of those steps were completed, was I able to cut the pieces and put them together… only to find out that I cut the slices to small. Back to step 1 🙂


After all was said and done, I finally had my cardboard skull, which Ive been wanting ever since I got the laser cutter. Mission Accomplished.