Lazor Blades

It’s usually a pleasure to work with my laser cutter, but as with most things, there are a couple annoyances here and there. One thing is the honeycomb table that came with the cutter.

While it does a great job at holding up a work piece, and usually keeps from marring the material, its giant borders can get in the way pretty often. If I try to cut anything while it is resting on the border, on the underside of the material, it will get way too hot and end up melting or burning the piece.

Since I couldn’t move the borders any further, I decided that I needed a different solution for holding up a work piece, while still having a small enough footprint on the piece to let the laser beam go over it without marring the material.

In the industry, there are basically only a couple standard ways to do this; honeycomb tables, and knife edge tables. I didn’t exactly want to lay down the money to buy a knife table, but figured I could instead make my own with some simple razor blades. This is the result.


These little guys are perfect for me for a few reasons. For one thing, they are movable. I can place them under any part of a work piece, without having to worry about it being in the way.

The actual Lazor Blades (the wooden holders) are set about half an inch below the work surface, so that means by the time the laser beam hits them, it is unfocussed and will not totally cut through them. As you can see in the photo below, they do, in fact, get marred by the laser. I was expecting this to happen, and for that reason, I pretty much classify these as a dispensable consumable. Whenever the ones I have get used up, I just cut some more. It works out pretty nice 🙂

If you want some Lazor Blades of your own, make sure to grab the file from Thingiverse and cut some out!


PS: They’re great for all kinds of things, not just lasers! For example, spray painting, as seen above

Party Scroller

Those jumbo screens at concerts that display your text messages can be a lot of fun. Wouldn’t it be great if you could have the same thing for your own parties or social gatherings? Well I tested that question. As it turns out, guests love it

1272691_10151650371395108_630911476_o


Why


concertWall
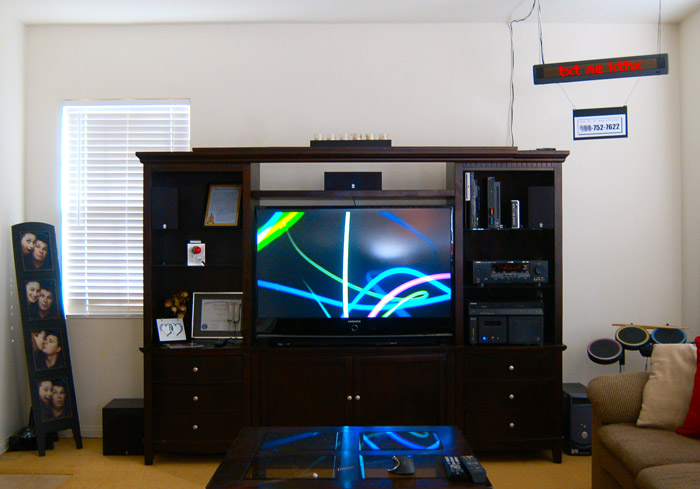
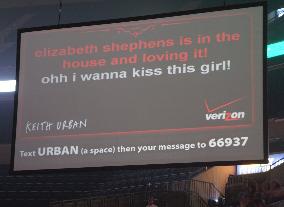
I’ve always loved the idea of sending messages to the big screens you usually find at concerts and other large events. I figured it could be scaled down, while still being just as entertaining. It may not have one of those spiffy 5-digit phone numbers, but the Google Voice number that it uses works just as well – especially since it also works as a vanity number for my handle 🙂

After testing the sign at a party held at home, I noticed that people really seemed to enjoy it. One part of it that led to people enjoying it was the fact that the messages were anonymous. While it would have been really easy to make the sign show who the message was from, if theres one thing I’ve learned from the internet, it’s that people love being anonymous. Leaving a message that your peers can see, without knowing who wrote it, will always invoke the most curious behavior.

With any anonymity, comes that behavior. I already knew that, so I took the liberty to set up some bad-word filters to start replacing parts of messages. You can see that list in one of the scripts below – which is most likely causing Google to flag my page as inappropriate, but I digress… Not only did this keep the board clean, but it was even more entertaining to people to see such ‘odd’ words come up in their messages. It only kept people texting more and more to see what other replacements they could figure out.

All in all, it really seems this experiment was a success. People loved it, and I loved setting it up. I highly recommend you do the same for your next party or other event. As long as your guests have their cell phones, they’re definitely going to be tempted to send something.


Technical Details


The Party Scroller makes use of several servers (more…)

blender_defender_main

Blender Defender

Have a cat that won’t stay off your counters? I do. I finally got fed up with it enough to do something about it: scare the crap out of him with a motion-detecting blender (while recording the results for my own amusement, of course).


Confused at what you’re looking at? This is a repeating shot of security camera footage of my cat jumping on the counter – in search of a plant to munch on – and initiating my Blender Defender. Take a look at the following comic to get a better understanding 🙂

 blender_defender_comic

Videos


Sorry, but you’re going to have to pretend you can hear an extremely loud blender while you watch these clips


(more…)

Emergency Party Button

The Emergency Party Button began as a novelty idea that has become the focus of every event that goes on in our home. A big red button is, by human nature, an object of compulsion. If you see it, you are overcome with the desire to push it. But what happens when you do?


Details


The Emergency Party Button consists of 3major components: The actual button itself, the controlling computer, and all the controlled devices. The button itself is the only real piece of equipment that any user is interacting with, which is why it has to be the best piece of the entire set up. Aesthetics is key. I did not want to buy a premade button box. I had a perfect idea of what I wanted, so there was only one thing to do; build it myself.

 dsc_3437

button
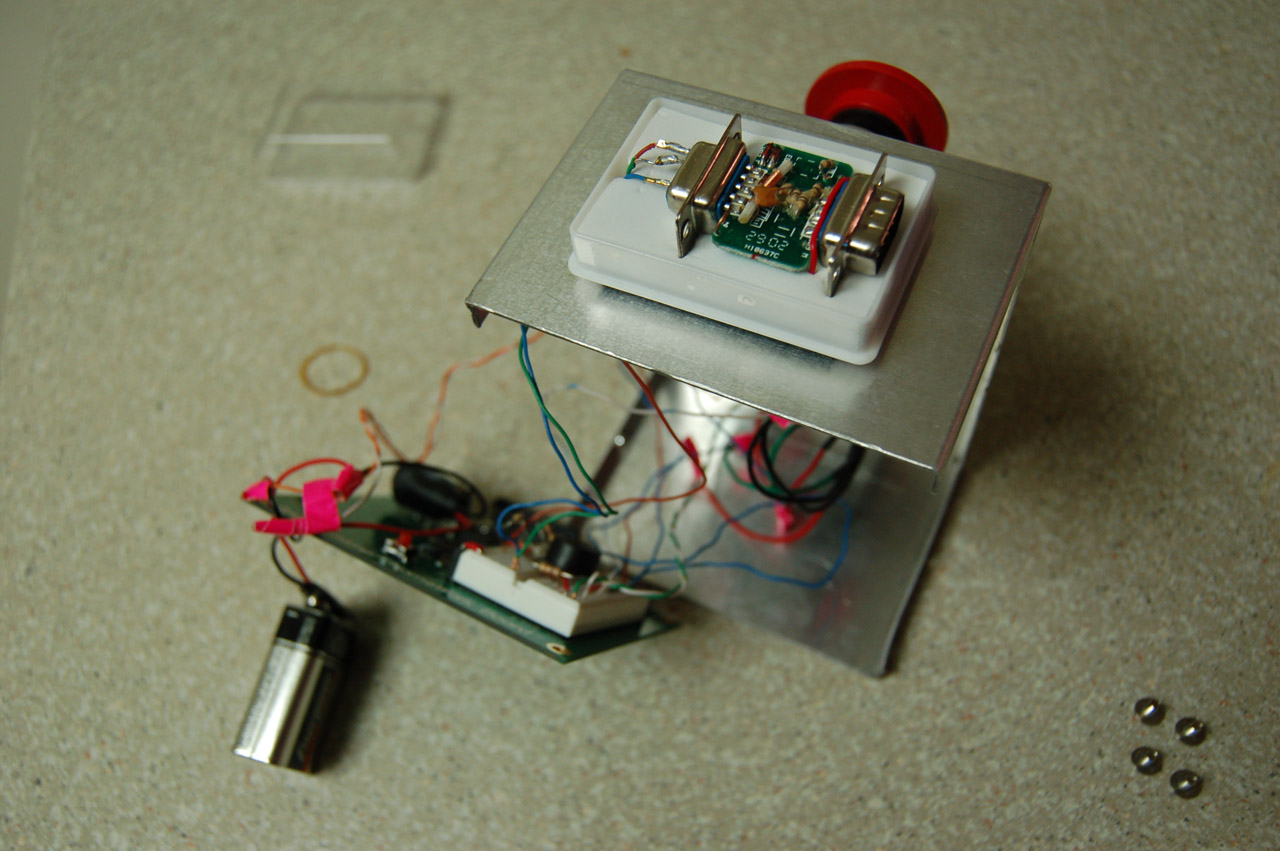
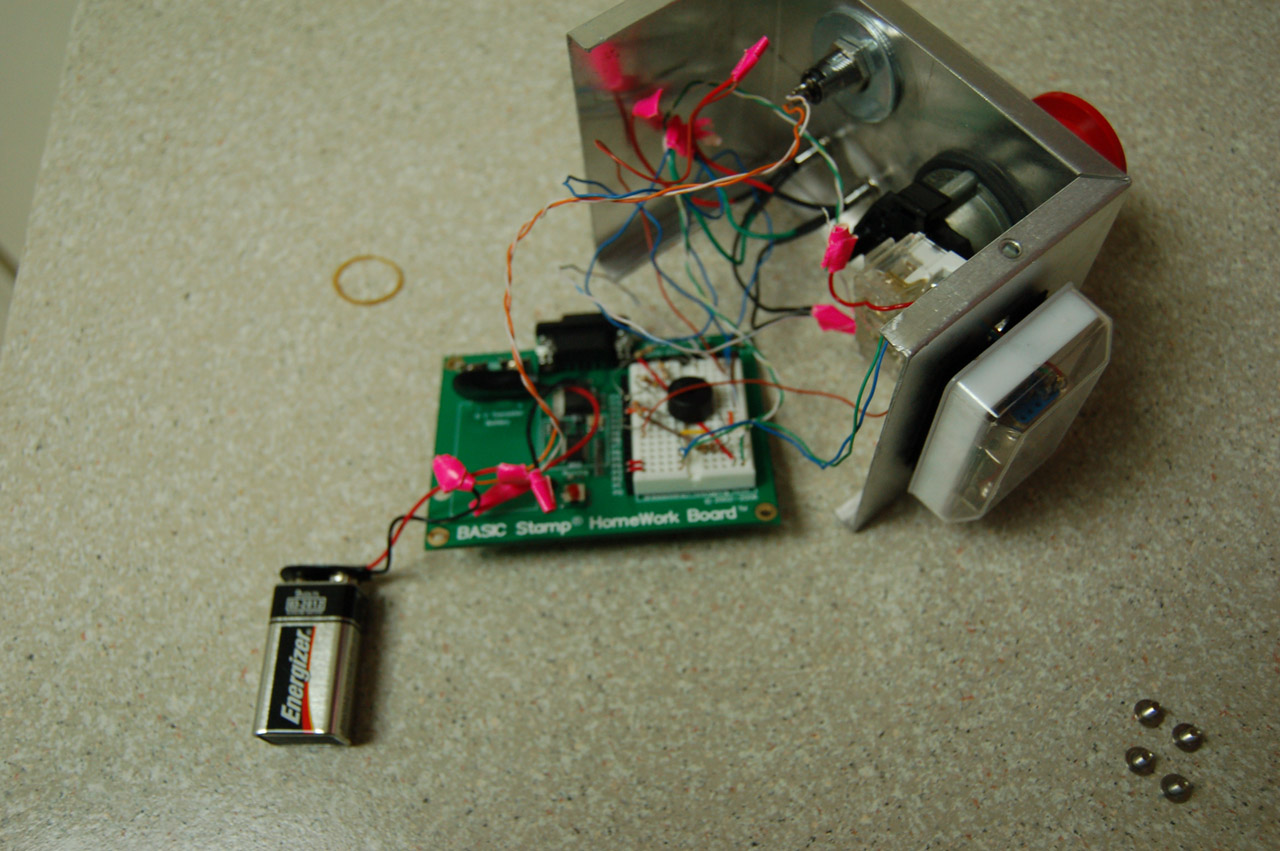
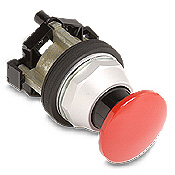
The main visual aspect is of course the giant red mushroom button. I had to buy this online since I couldn’t find the right looking button in any electronics store around. It cost a lot more than I had first planned, but it was well worth it. I bought the button from AutomationDirect.com. Check out the parts list page for a cost breakdown.


At the heart of the button is a Basic Stamp II (well, technically, a Basic Stamp Homework Board, since it wasn’t going to any good use anyways). The basic stamp is used for a few small things. Once power is applied by turning on the key on the top of the button box, the basic stamp waits until the button is pressed. Once it is, it first plays a short tune on a piezo speaker to signify that the button has been pressed, it turns on a red LED showing that party mode is currently on, and then it uses the Firecracker X10 module on its serial line to send an X10 signal to the transceiver plugged in across the room. Click the images to enlarge. Also, please forgive the crappy pink duct tape holding the wires together, as I didn’t have access to a soldering iron when I wired it up.


dsc_3443dsc_3442dsc_3441dsc_3440dsc_3438dsc_3439

(more…)