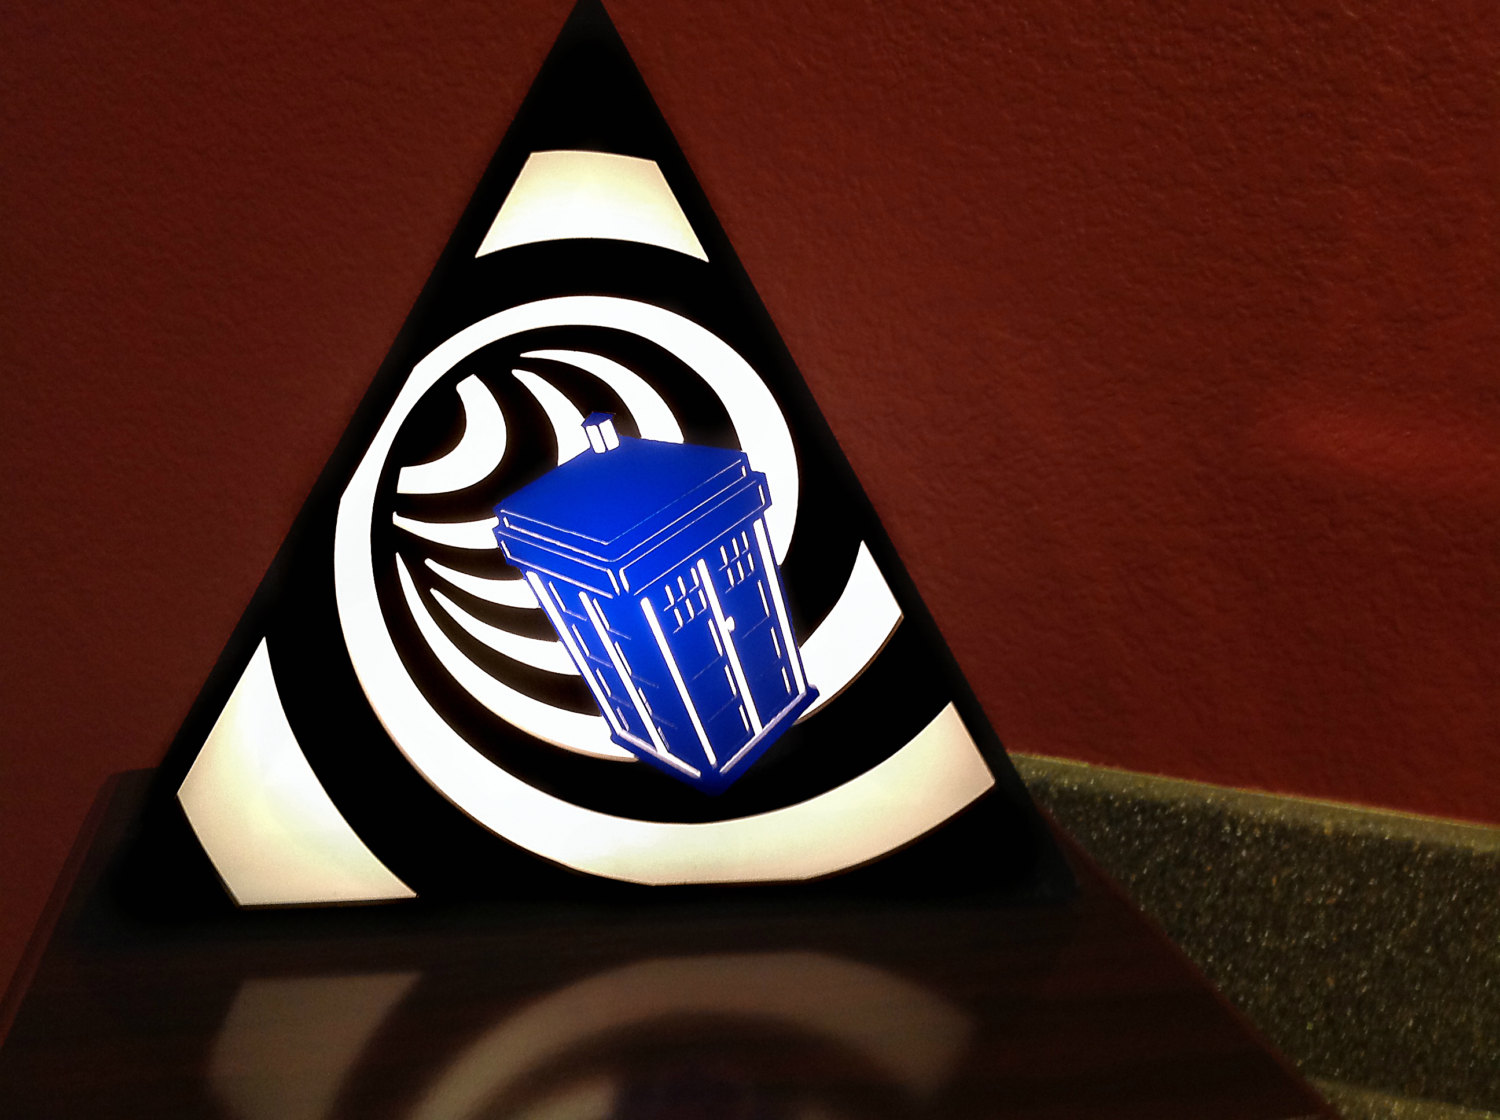
The Doctor Who Tardis lamp is one of the most detailed pieces I have designed yet. It pushes the boundaries of what my laser cutter can do to a flat piece of plastic. It features some of The Doctor’s greatest enemies on the sides, while showcasing the Tardis falling through spacetime on the front.
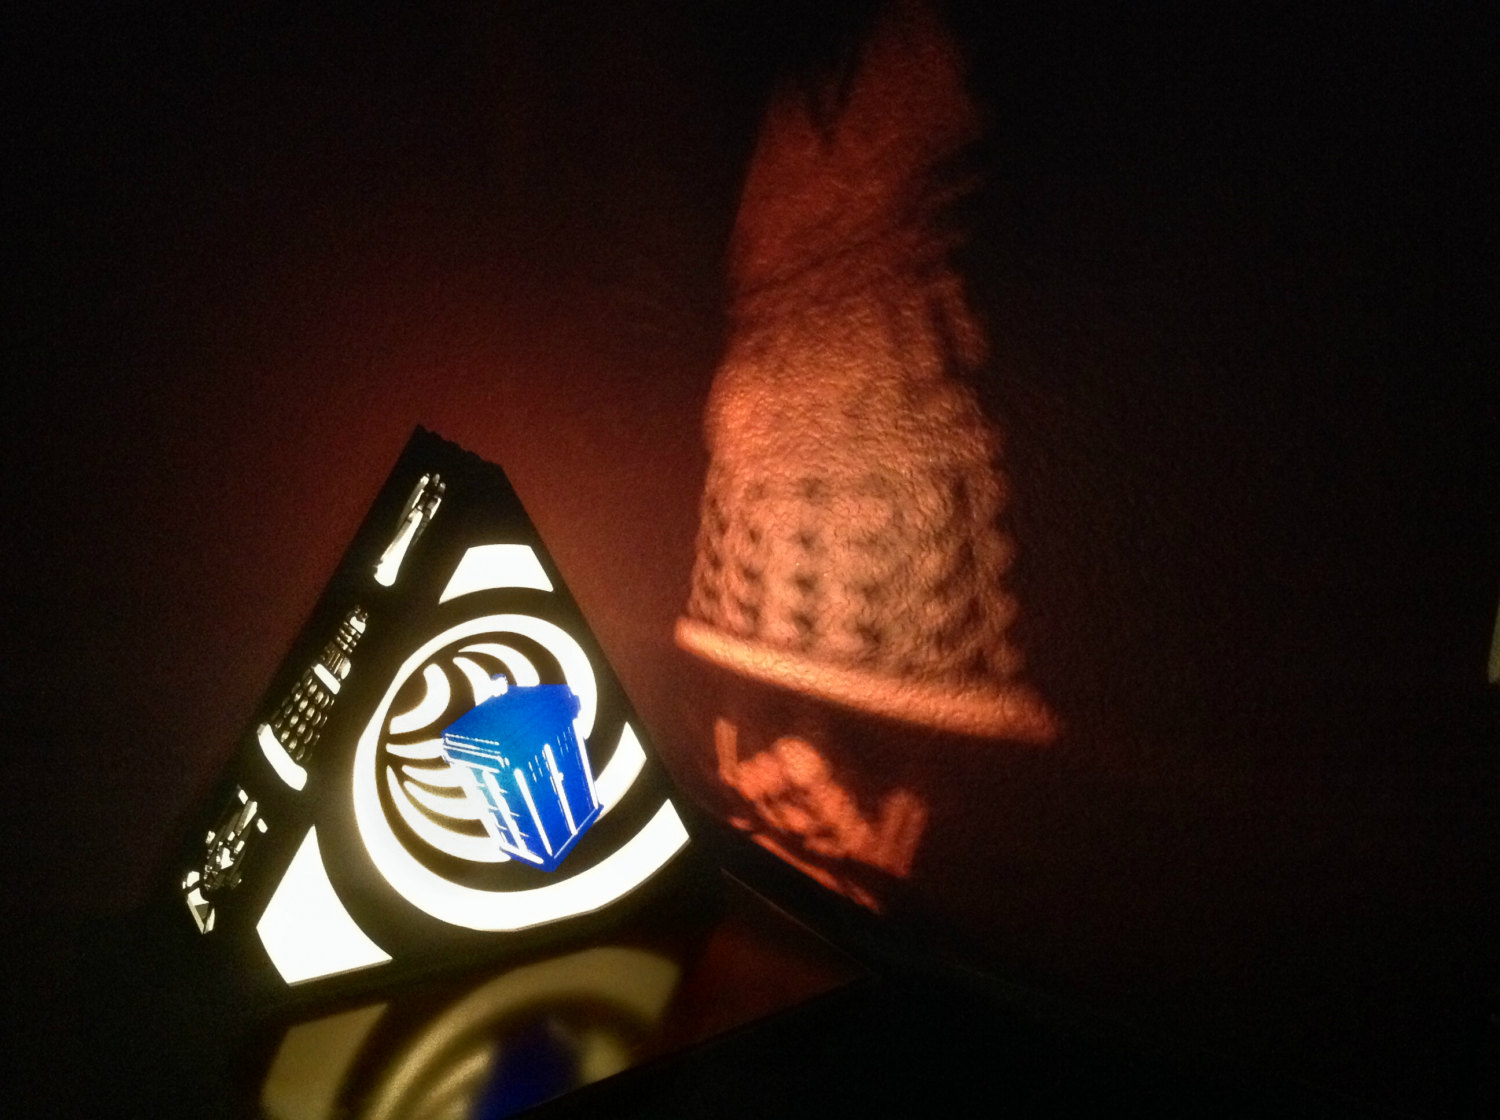
Projecting images onto walls has become a staple of most of The Plasmatorium’s lamps. Some work better than others, though.
Just like most other creations, it all begins with a crude and simple sketch.

The first step in creating the lamp is to create the base structure. I have become acustomed to using Sketchup for my designs, even with all it’s little quirks.
I make all my lighted sculptures out of 3mm acrylic, of various color.
Once I have the basic lamp design finished in Sketchup, I can then export the actual part shapes into Inkscape, so I can begin working on the artwork side of things.
The Tardis is what took the most amount of tweaking and reworking. I was trying to play with the negative space while having the laser act like it was cutting lines, instead of just shapes. By putting the paths so close to eachother, the laser will have overlap on the plastic, and vaporize a larger amount from it’s path. Using that method allows me to create larger holes in the plastic without having to punch out little pieces from the end piece.
I created a spiral pattern, overlayed it onto the lamp face, then removed it from the blank piece. Once I had that, I simply put the Tardis on top of that, positioned it where I wanted it, then subtracted its shape from the spiral.
Creating the Dalek took a while as well. The round nodules were difficult to get into the required curved shape to make it look 3D, but I think it came out pretty well.
A side-by-side view of a rough sketch of how I wanted the Cyberman to look, with the cleaned up path of the end result next to it.
Positioning the elements may seem straightforward enough, but having just one design in the wrong place can make the entire piece feel “off”. Getting things visually pleasing takes patience.
A completely unnecessary picture of me waiting on the laser cutter to finish a previous cut-job, so I can start cutting prototype parts for the Doctor Who Tardis Lamp.
Laser ready to fire!
When doing the first cuts of anything, I use whatever pieces of non-valuable compatible stock I can. In this case, it just happened to be black acrylic. The color may be off, but this first cut (of many) tells me where to make adjustments of the design, to have it better conform with the laser cutter’s tolerances.
One such adjustment that needed to be made.
The curing process involves acetone and clamps. This is a picture of one of my other lamps, the Zelda Triforce Lamp, but the process is the exact same when it comes to welding the parts together.
I have been using binder clips as my clamping solution. In the future, I plan on making wooden jigs to hold the parts, but this works perfectly for now.
After clamping, and peeling off the protective paper from the plastic, the end result looks great.
The Doctor Who Tardis Lamp is now available on my storefront site: The Plasmatorium 🙂