Designing the Doctor Who Tardis lamp

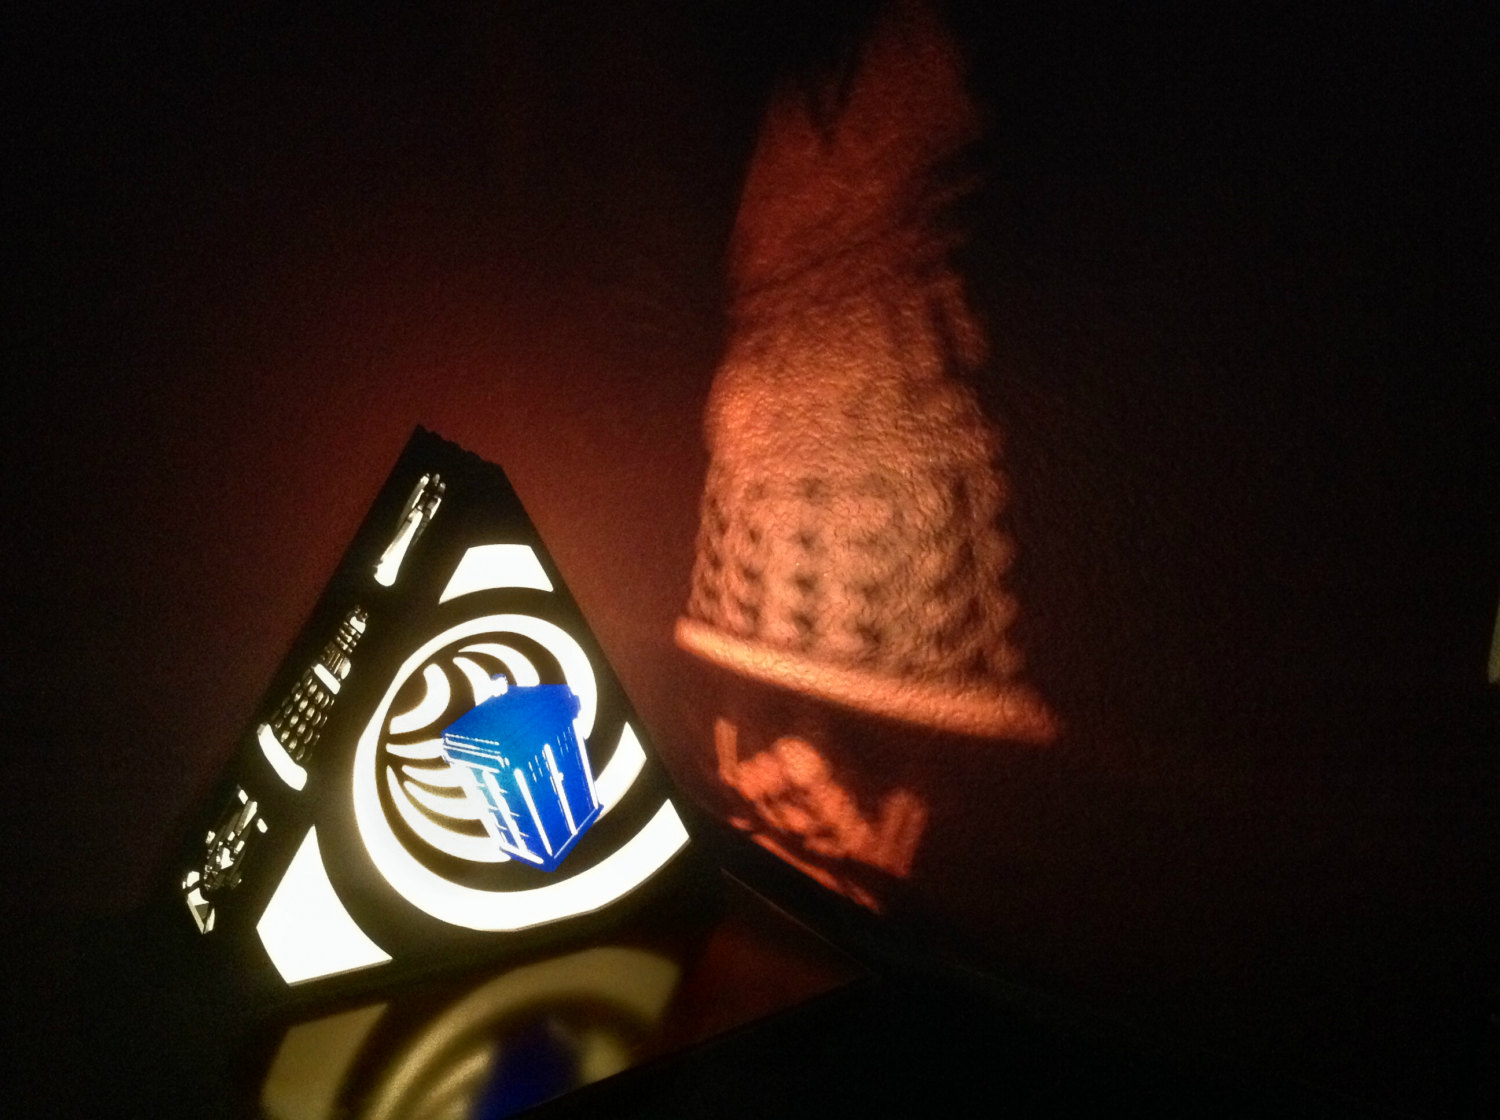
The Doctor Who Tardis lamp is one of the most detailed pieces I have designed yet. It pushes the boundaries of what my laser cutter can do to a flat piece of plastic. It features some of The Doctor’s greatest enemies on the sides, while showcasing the Tardis falling through spacetime on the front.

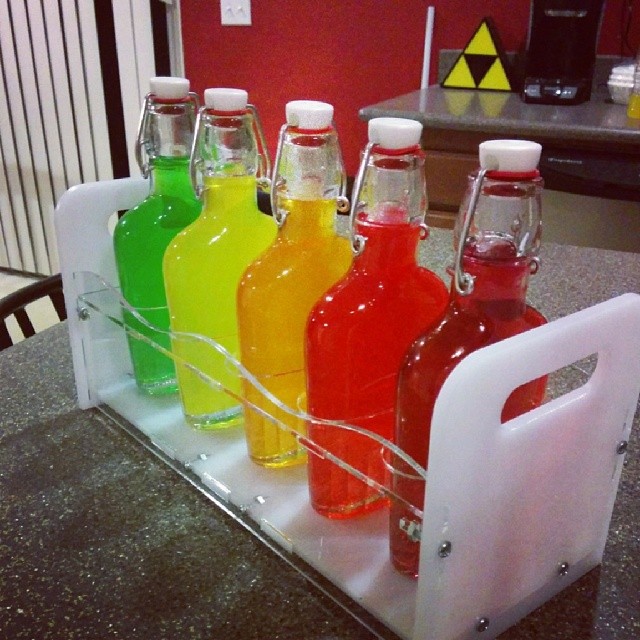
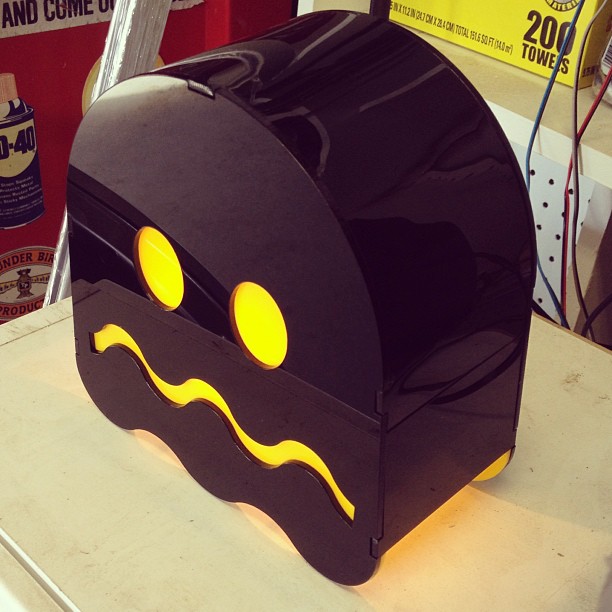
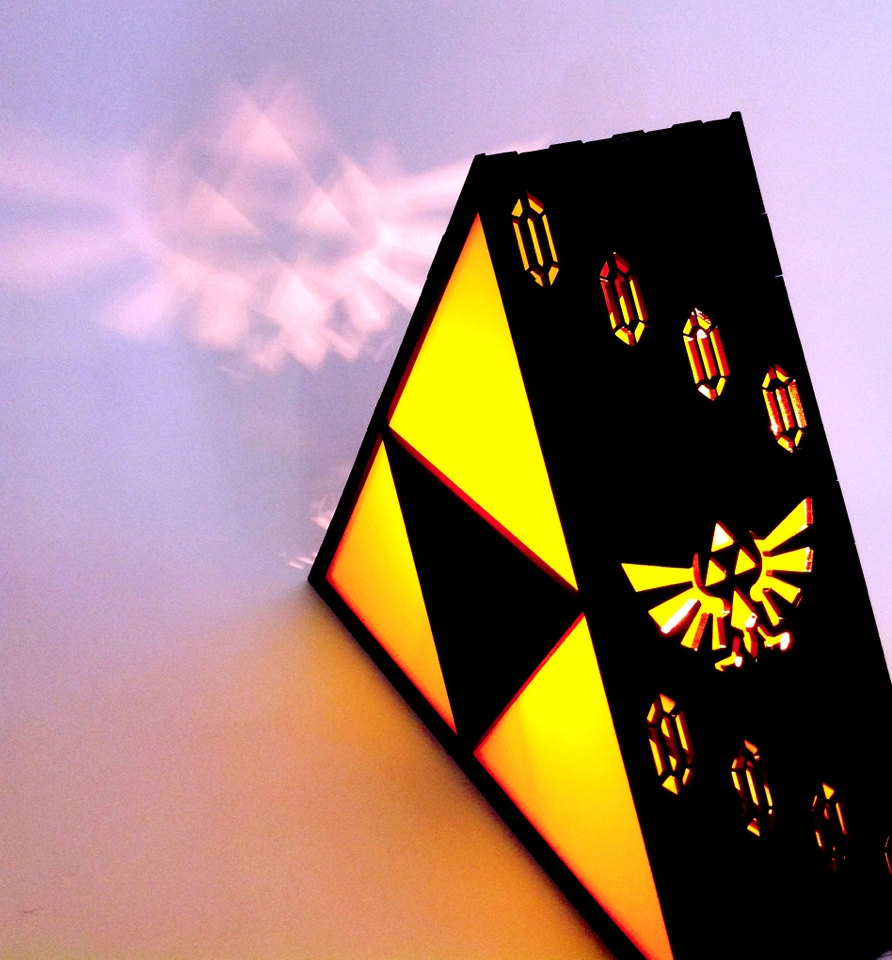
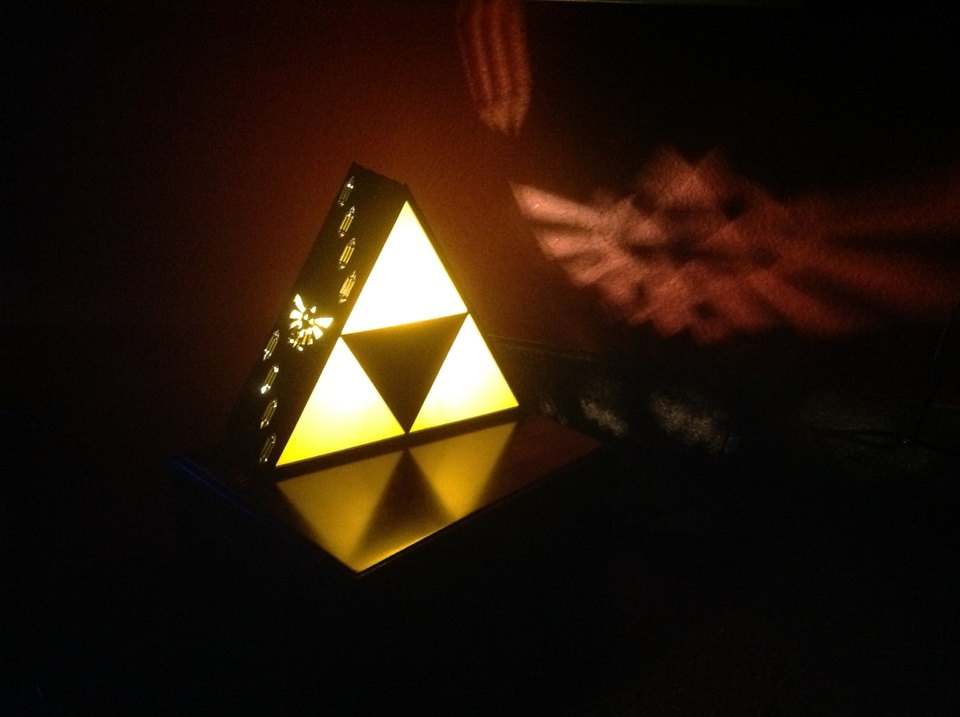
Projecting images onto walls has become a staple of most of The Plasmatorium’s lamps. Some work better than others, though.

1

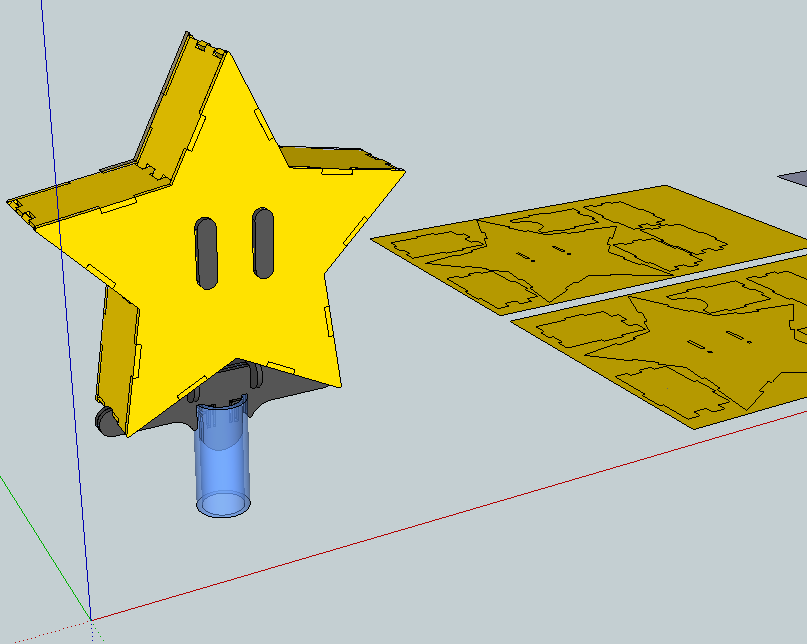
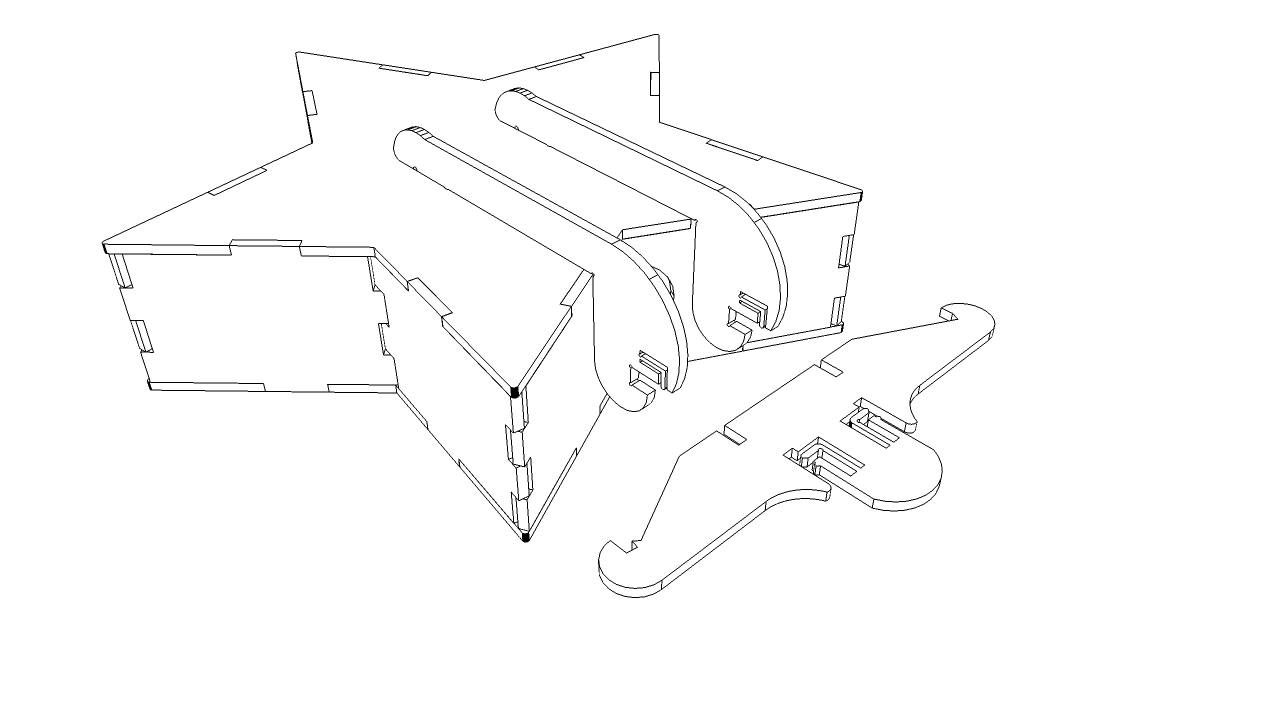
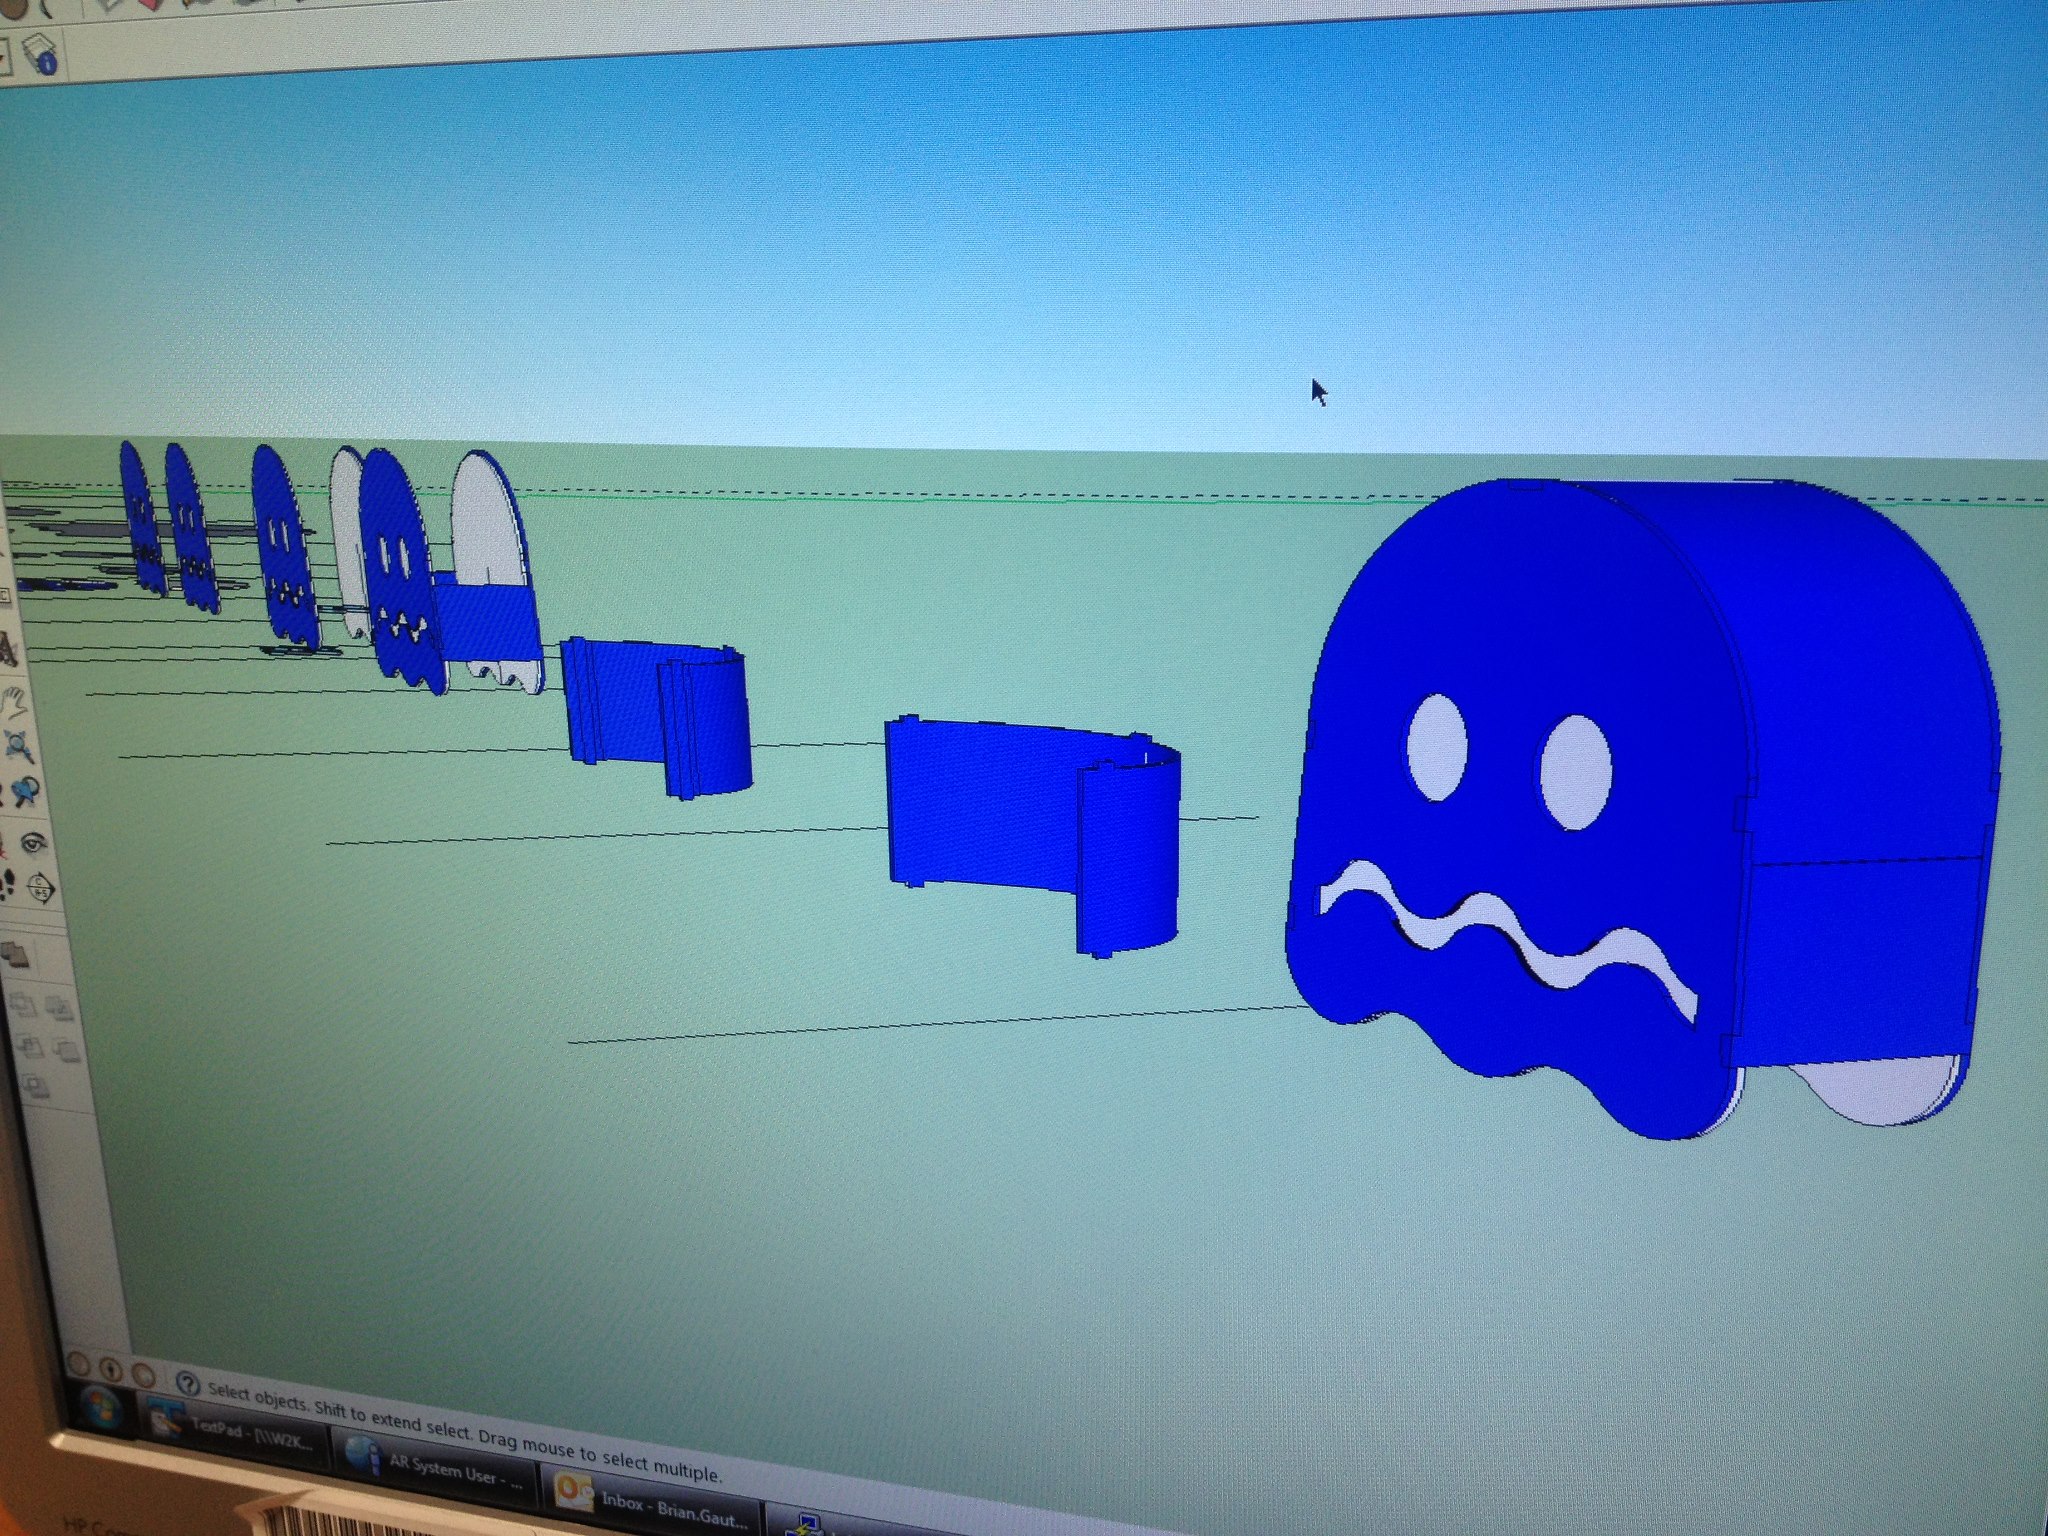
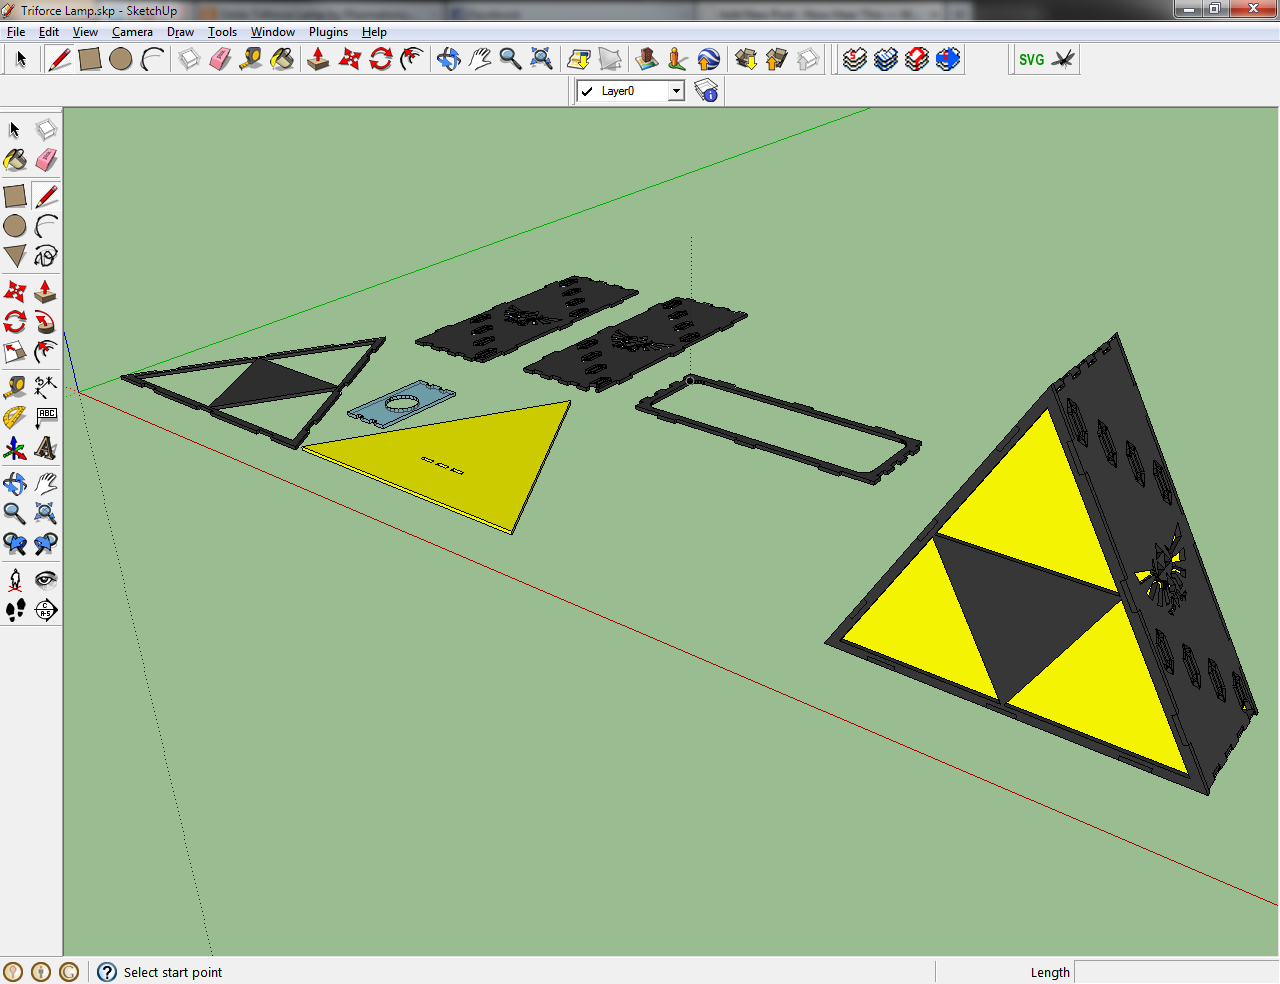
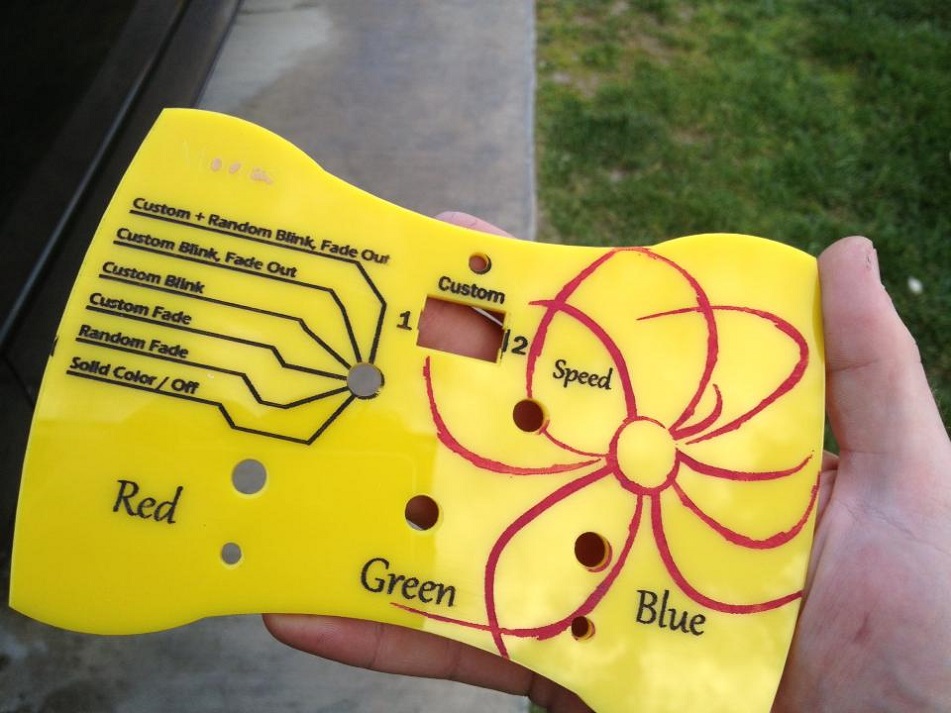
Just like most other creations, it all begins with a crude and simple sketch.

(more…)

Skittles Vodka & Display Case

Gave this as a Valentine’s Day gift

ZivVizV

As soon as I learned that her favorite candy was Skittles, and that her favorite alcohol base was vodka, I knew exactly where to go from there 😛


Step 1: Get your crap together, man

x4a0uZ6

Found the bottles on Amazon… a lot more expensive that I had hoped, but oh well. She’s worth it. As per the alcohol, I knew you shouldn’t buy an AMAZING vodka, since the candy would be ruining your vodka (like ketchup on filet mignon)… but I certainly didn’t want to get bottom shelf either, since that would taste just as bad… Svedka is a good choice 🙂


Step 2: Piss off those with OCD

b2FBhJu

Separating the candy was the fun part… and no, I most definitely did not eat any…


Step 3: Start the liquification!

3iWMS3T

Water bottles were used, so I didn’t get any candy gunk on the inside of the nice expensive bottles


After about 10 mins

RnjOdXl

10 minutes in, the color was already becoming quite vibrant. I let them sit for a few more hours to let the candy COMPLETELY dissolve.

(more…)

Mario Star Tree Topper

I modeled up another lamp; a Super Mario Brothers Star lamp. Aka a Super Star 😛

1483767_10151754630220108_1030040446_o


But I also wanted to make it as something that could be put on top of a Christmas tree, so I added in support for that!

marioStar3d

The Mario Star definitely takes a bit more effort to assemble than the previous Zelda Triforce Lamp, but it’s worth it. It also looks pretty awesome on top of the Christmas Tree 🙂

1404779_10151745661730108_708651953_o1452326_10151764975865108_386676047_nil_570xN.536305676_j80fI also created some assembly instructions for attaching the tree-holder to the lamp, which I include when people purchase the lamp. I thought they came out pretty interesting. Almost Ikea-style.

1403534_10151766789615108_943658086_o


If you want to check into getting one of these lamps for yourself, I should have it up for sale at The Plasmatorium – go check it out!

PacMan Ghost Thermoforming

I wanted to build some PacMan Ghost lamps. The only problem was that I needed a nice, curved piece of acrylic for the top “hat” piece.

919053_10151370946380108_1126631867_o

I created a bunch of thin pieces out of wood and bolted them together to make a mold for the acrylic. Then I placed it into the oven and let it heat up completely. The melting point of acrylic is around 320 degrees Fahrenheit, so I set my oven to 350.

941651_10151377709020108_33754604_n

After about 10 minutes or so, the acrylic drooped over the mold just how I wanted it to. I used something round to push the acrylic into place. In retrospect, I should have made another half  of the mold; a top. But it took a LOT of time to make the bottom half, and I was getting impatient, haha. Also, I think having a top mold may have left a bit too much marking on the acrylic, making the finish non-smooth and shiny like I needed.

164267_10151377780540108_78902775_n397931_10151391726375108_1641157629_n

(Note: Yes, I later made a blue and white ghost – black and yellow just happened to be the color of acrylic I had plenty of at the time)

Zelda Triforce Lamp

A few months ago, I decided to design up a video game themed lamp. The end result was the Zelda Triforce Lamp.
il_fullxfull.420561272_c7rj

I designed all the pieces in Google Sketchup, and exported them to their respective SVG files for cutting on the laser.

triforceLamp

After cutting each of the pieces, the lamp is assembled by hand, using acrylic glue to bind them all together. After the acrylic pieces are put together, a regular lamp cord with bulb holder is inserted into the bottom, and presto; you have a lamp 🙂 What I think adds a nice tough is the shapes cut into the side of the lamp; the Rupees and the Hylian crest. They manage to project shadows of their respective shapes onto nearby walls or objects. Really makes the lamp stand out.

il_fullxfull.420561990_9p3g
il_fullxfull.420561026_qqpn

Interested in a lamp of your own? I’m now selling them over at The Plasmatorium – Check it out!

Design prototypes with room

Reminder to self: when designing prototypes, make sure to leave room to stuff all those breadboard wires.893772_10151310019600108_1442718155_o544193_10151314164715108_1770484238_n

On another topic, this was my first attempt at colorizing a laser-etched piece of acrylic. It came out better than I had expected.

I laser etched a design (and text) pretty deep into the plastic, with the protective paper still on the top. Before taking the covering off, I brushed some acrylic paint over the scores and let it dry. Once dry, I simply peeled away the covering and was left with this.

68539_10151345413320108_2027524815_b